

Behind the Craft
The Art Behind the Glow: How We Make Our Resin Lamps
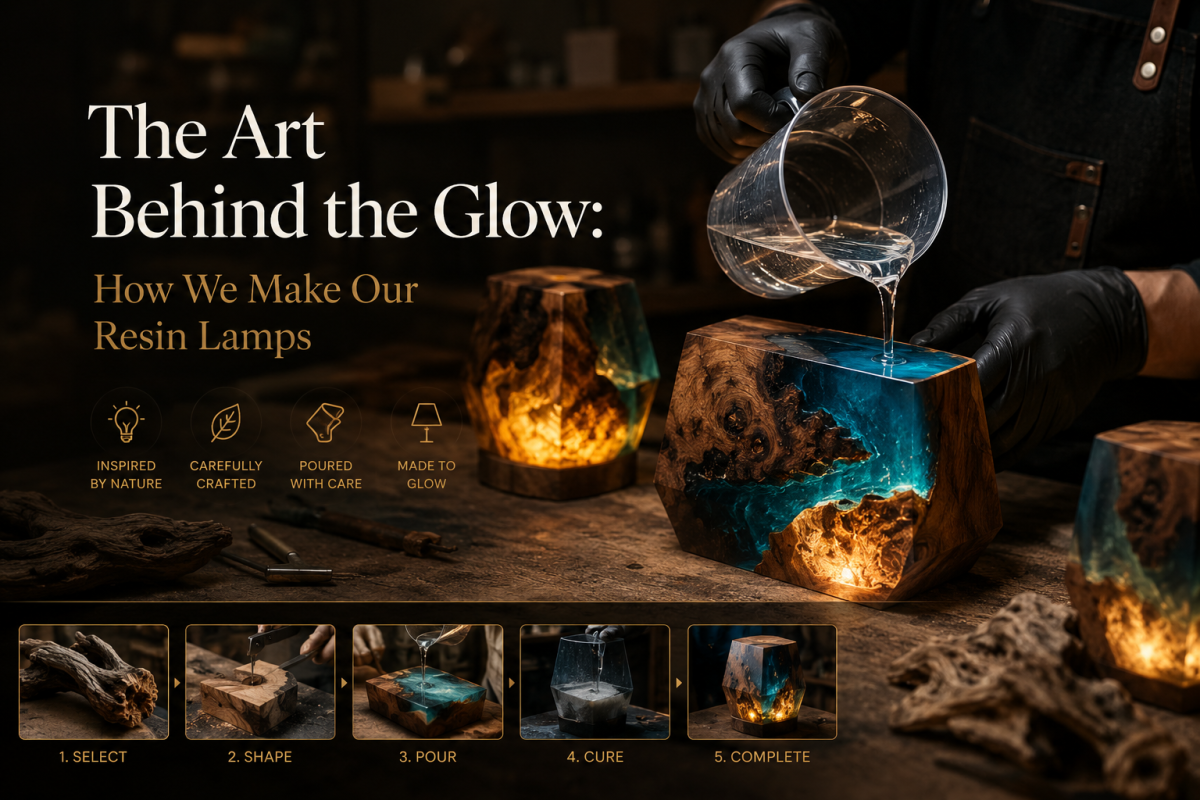
Every piece begins with a feeling.
Before any resin is mixed, before any mold is prepared — it starts with an idea. A scene. A mood. Maybe it’s the vastness of deep space, the quiet intensity of a samurai standing in the rain, or the electric energy of a galaxy colliding with mountain peaks.
At DATKEYstudio, we don’t just make lamps. We build worlds — and then we pour resin around them.
Here’s exactly how we do it.
Step 1: The Concept
Every piece starts with a theme. Our team sketches out the scene — what figures will be placed inside, what lighting effect we want to achieve, what emotion the finished piece should evoke when someone looks at it from across the room.
This stage is more art direction than craftsmanship. We ask ourselves: What story is this lamp telling?
A Galaxy Lamp isn’t just “space.” It’s the feeling of floating weightlessly between stars. A Game Lamp isn’t just a character — it’s a moment frozen in time, pulled from a world millions of people love.
Getting this right before touching a single tool is what separates a beautiful piece from a forgettable one.
Step 2: The Sculpt
Once the concept is locked, the inner diorama is built entirely by hand.
Miniature figures are individually painted with fine-tip brushes — details as small as a few millimeters are carefully colored to match the character or scene. They’re then positioned with precision tweezers, sometimes adjusted dozens of times until the composition feels exactly right.
The base — often a natural wood slab with its organic edges and grain — is cleaned, sanded, and prepared to become the foundation of the world we’re building.
This step alone can take several hours. There are no shortcuts here. The sculpture inside the resin is permanent — once it’s poured, it’s locked in forever.
Step 3: The Pour
This is the step most people picture when they think of resin art — but the reality is far more technical than it looks.
We use a professional-grade, high-clarity epoxy resin mixed in precise ratios. Pour it wrong, and you get cloudiness. Rush it, and you get bubbles. Add too much pigment, and you lose the transparency that makes the lamp glow.
The resin is poured in layers, not all at once. Each layer is allowed to partially cure before the next is added — this builds depth, creates dimension, and allows us to embed elements at different levels within the piece.
Lighting elements are carefully integrated during this stage so that when the lamp is switched on, the glow feels like it’s coming from within the scene itself — not just from a bulb underneath.
Step 4: The Cure
After the final pour, each piece goes into a high-pressure curing environment.
This is one of the most important — and least talked about — steps in the process. The pressure forces microscopic air bubbles out of the resin before it hardens, resulting in a finish that is completely clear, like looking through glass.
Curing takes time. We don’t rush it. A piece that comes out of the cure too early is brittle and prone to yellowing over time. We wait until the resin has fully hardened to its maximum clarity and durability.
During this waiting period, we’re already thinking about the next step.
Step 5: The Polish
A freshly cured resin block is not yet beautiful. The surface is rough, slightly hazy from the mold, and far from the mirror-like finish you see in our final products.
This is where the real labor begins.
Each piece goes through up to 8 stages of progressive wet-sanding — starting with coarser grits to remove imperfections, gradually moving to finer and finer grits until the surface is perfectly smooth to the touch.
Then comes the buffing. Using a series of polishing compounds applied by hand, we work the surface until it achieves a deep, glass-like clarity. Hold it up to the light and it should look like the resin simply isn’t there — like the scene inside is floating in mid-air.
This step can take as long as the sculpting did. It requires patience, a trained eye, and the willingness to keep going even when the piece already looks good — because we know it can look better.
Step 6: The Final Eye
Before any piece leaves our workshop, it goes through a final quality check.
We look at it in multiple lighting conditions — under bright studio light, in dim ambient light, and with the lamp switched on. We check for any remaining surface imperfections, confirm the internal scene is exactly as designed, and make sure the lighting element is working perfectly.
If anything isn’t right, it goes back. We’d rather take another day than ship something we’re not proud of.
Only when a piece passes every check does it get carefully packed and sent out to its new home.
Why it matters.
In a world of mass-produced décor and overnight shipping, we’re doing something different.
Every DATKEYstudio lamp takes days to make. It passes through multiple pairs of hands. It carries the weight of real creative decisions — decisions made by people who genuinely care about what ends up on your desk.
When you turn on one of our lamps, you’re not just turning on a light. You’re turning on a story. One that took obsessive care to tell.
That’s what we pour into every piece.
Explore our latest drops → Shop the Collection